(Come join us for May Medallion Madness!)
Most artist medallions and busts are cast in a form of resin (though there are metals and plastics as well) and may have mold release residue on them. Last Fall, we had a mini prepping party in anticipation of the new year projects, and I busied myself with some small repairs, surface work, and cleaning of models and medallions. Bas relief sculpture can have fine detail as well as crevices and undercuts.
Do not be intimidated - it is well worth your invested time to prep, not only in the finished piece, but in the study of your Medallion! You will get to know the sculpture and think about color and markings during this stage. Knowing the texture and detail of the sculpt
will allow you to apply color based on that knowledge.

Lovely Bas-Relief Details!
It is important to thoroughly clean and prepare the piece prior to finishwork so that paint and pigment will properly adhere to the surface. Just like prepping full models, seam removal, filling of pinholes and surface work are worth your time and effort in producing a quality piece. Resculpting and sanding also take place during the prep process, and the smaller surface area can seem a delight to work on with these blanks! Even though they may seem less fragile, eartips and fine edges can chip or break, so take care in your work. Mending pieces is possible, and I will discuss that here as well.
Basic prepping tools consist of filling or surface material, cleaning agents and tools, and primer. Investing in these things will help you have a go-to kit for all customizing and repair projects. I also emphasize safety - use caution with cutting or sculpting tools! Also consider PPE - personal protective equipment - when it comes to protecting your skin, eyes, and lungs. I have a package of latex gloves (there are alternatives for those who are allergic), dust masks, and respirator in my kit.

Scrape, File, and Fill
Sometimes securing a piece to work on can be helpful (painters tape will be easily removed yet secure it to a board or surface if needed). It is rare that I would use a small hacksaw and cushioned vise on such a piece, but unicorn horn removal has happened!
Having work areas ready will
help you enjoy various stages of your project safely.
Carbide scrapers and exacto knives may be carefully used to scrape seams and flashing. Filing down any connection spots where molding sprues were attached is easy with needle files. Dremel or rotary tools can also be used to grind, sand, and carve in resin and plastic. Most artists are designing resin medallions to cast easily and have minimal flaws, but sometimes resculpting is necessary.

Seam Lines and Edges to Clean Up
Epoxy putty (2 part) is generally for larger areas, but is popular to sculpt with water or alcohol and can create lovely flowing hair or rebuild an ear. Apoxie Sculpt and Gapoxio are artist brands to use rather than plumbing/automotive types. Smaller things like nostril edges or a tiny eartip can be repaired by building up “soda glue” using liquid super glue and baking soda.
Modeling paste or spot glazing putty (use gloves!) can fill tiny pinholes and surface blemishes.
Also consider the possibility of “messo” which is artist gesso and modeling paste mixed to make a thick, sculptable surface, like hair.
Please note that modeling paste should be used in the final stages of prepping as it is water soluble. It serves to make tiny surface repairs or add texture with ease.
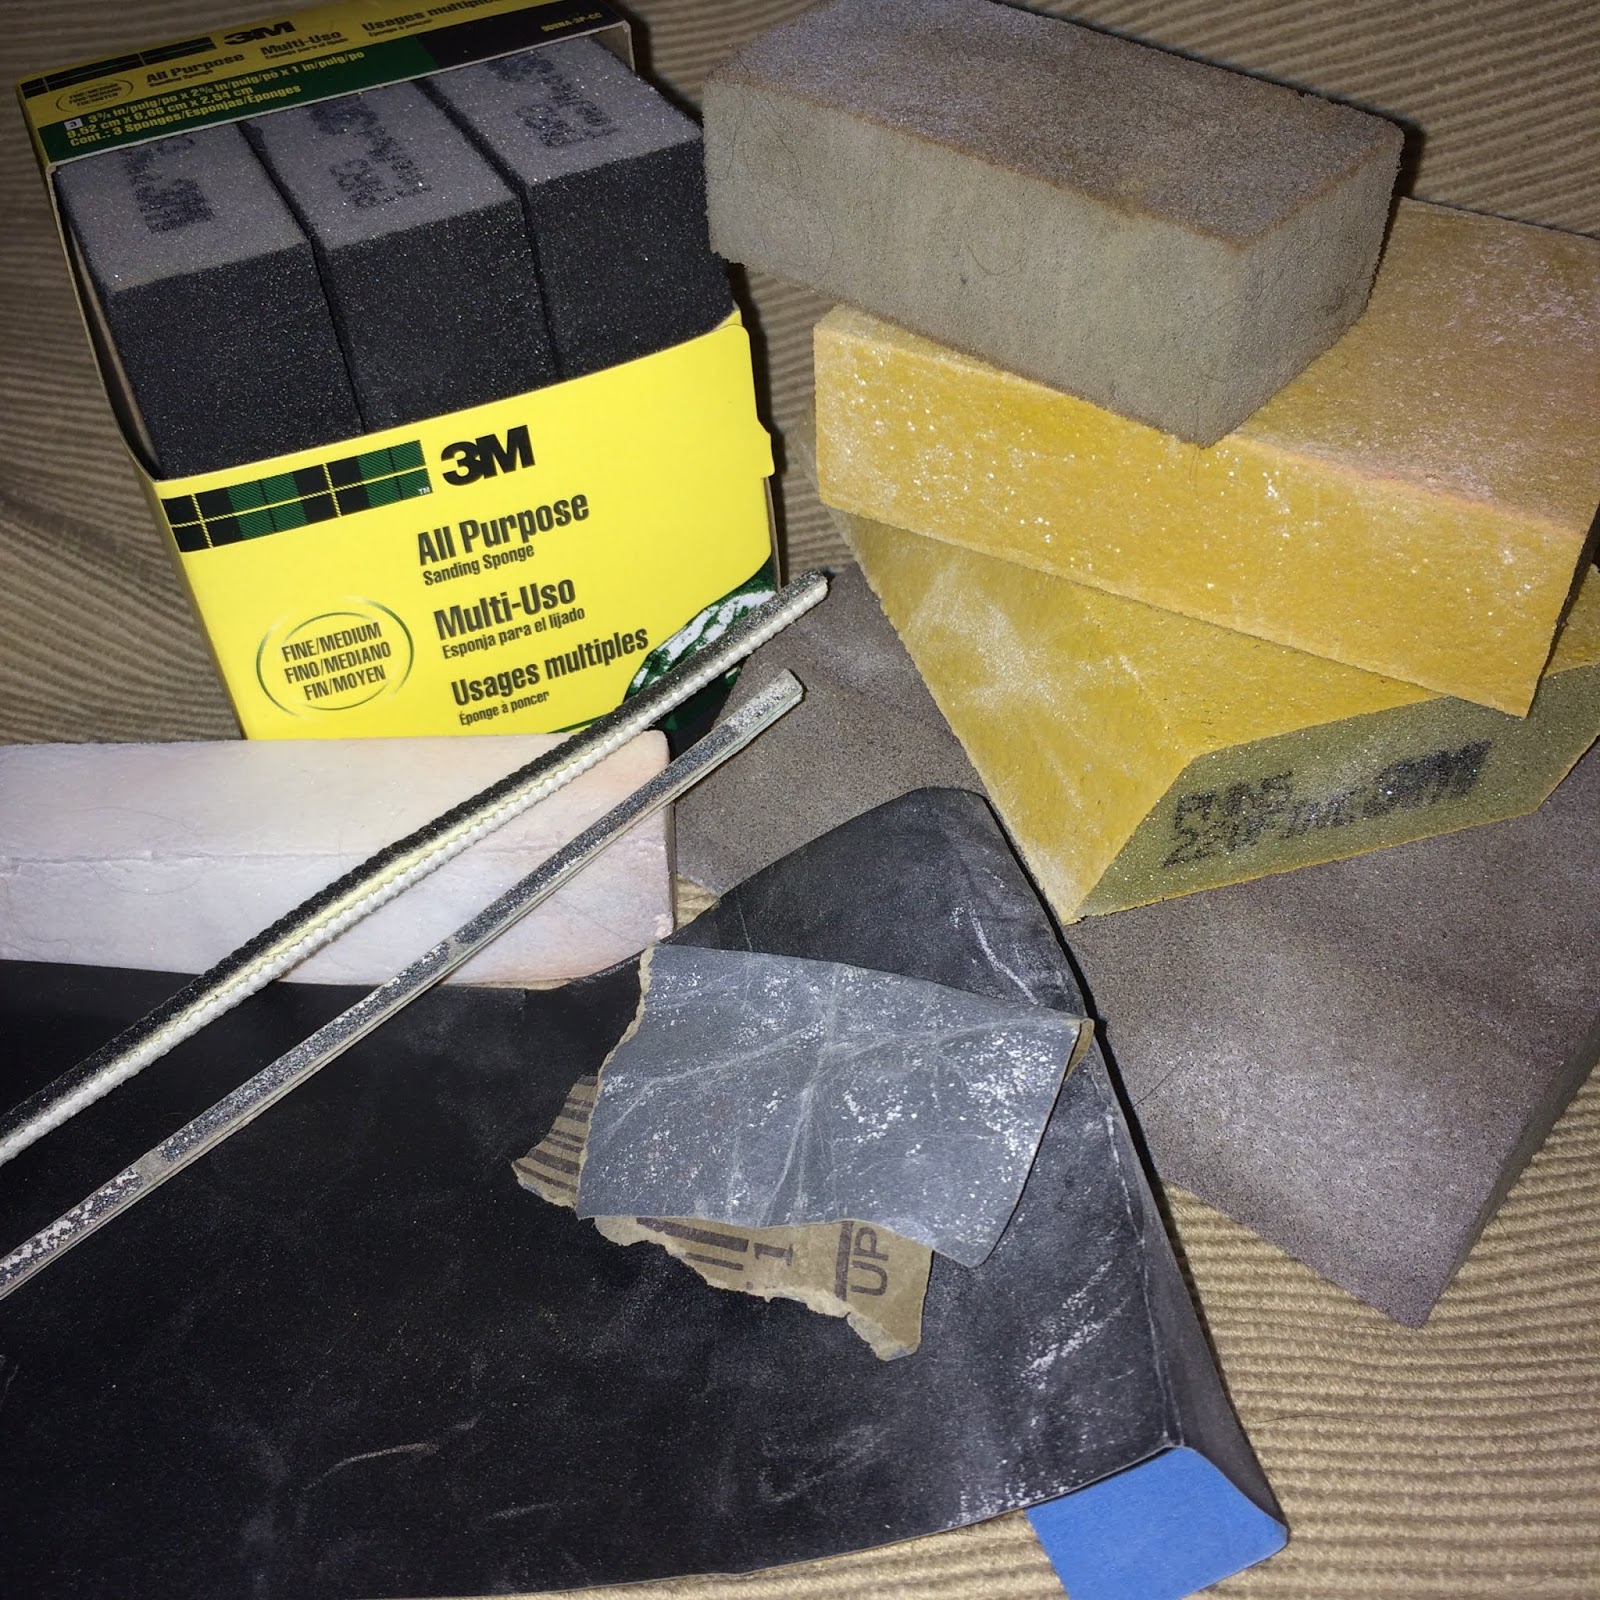
Sanding Tools of The Trade
Sand, sand, sand! Varied grit of sandpaper will help you throughout the process, and I really love my sanding sponges and swizzle sticks as I can follow curves and get into tight spaces more easily. Chances are you will sand multiple times throughout prepping and stages of primer to catch flaws you might not have been able see prior. For sandpaper, wet/dry 320 or 400 grit is great for finishing prepwork to a silky smooth finish.

Scrub-a-dub For Surface Prep
Cleaning your Medallion is best done with Bar Keeper’s Friend (I like this better than Ajax or Comet) and an old toothbrush. Gentle circular scrubbing with this powder and water in a paste will remove any residue from casting as well as oils from our hands. The water will “bead up” when rinsed if mold release is present. You are trying to see a solid sheet of water on the surface after scrubbing indicating that there is no resist underneath, repelling the water. Several decent scrubs all over (I do the back too!) and letting your Medallion thoroughly dry overnight is best. You will find this imperative step gives your resin surface “tooth” or texture that primer will adhere to.

Tiny Pinholes and Flaws
Prime(r) Time! Much has been written about lightly spraying well-shaken primer in layers, and testing your spray on something like a box or paper before the medallion. Key points are to use a SANDABLE Primer, work safely, and take your time. Expect to fix more flaws and sand where needed! Patience and thorough drying time during this process are a must.
Once properly prepped, you will be ready with a “blank canvas” upon which you will produce finishwork using various media (acrylics, oils, pastels, pigments, even colored pencils, markers or nail polish!). Having sealants and gloss will help you finish a lovely protected horse with lifelike shiny eyes. I’m a fan of matte or satin spray finish to seal and protect in light layers.
Medallions are super special as their own unique art form, and deserve proper preparation for your painting adventure! I am excited to see what pieces are created and delight in the variety of breeds, colors, and markings we will see.
Happy Prepping! See you in May!
No comments:
Post a Comment